February 03, 2014
Holiday on the Mun
Hello, space fans! Philmon Kerman here, with another update on the exploits of the Royal Squirrel Patrol Space Force.
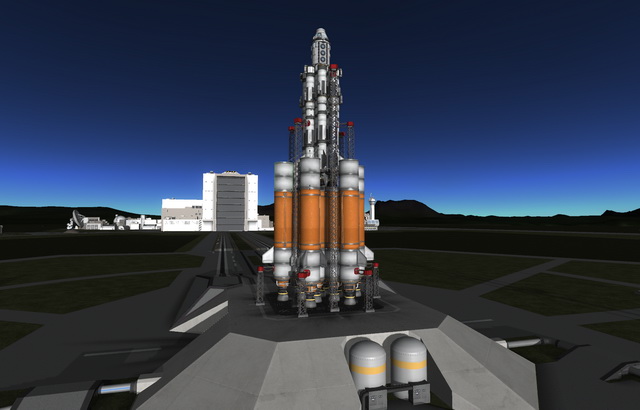
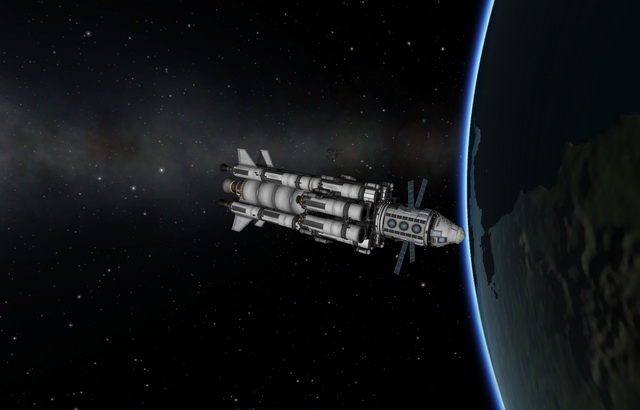
Weighing in at a massive 1,081 tons, 109 meters tall, with a total of 40 engines, an array of scientific instruments, and an onboard laboratory, the Kewis and Klark Exploration Vehicle is truly the largest and most complex rocket yet built at the KSC.
Comments are disabled.
Post is locked.
Our week-long visit to the Mun wen't extraordinarily well, with lots of new technologies and abilities demonstrated, and all of our astronauts getting a chance to develop and perfect their skills in space. But it left us with a bit of a problem in deciding what exactly would be next. The rover and space plane programs continue to make progress, if not quite as quickly as we'd like. We've demonstrated that we can dock multiple craft in space, thus building much larger vessels than we can reasonably lift into orbit on a single launcher, and we've also demonstrated that we can refuel vehicles in orbit, allowing us to rely on upper stages to get us into orbit, knowing that we can refuel them and use them again. But even with all this progress, we're still not ready for the scope of effort that will be required to rescue Bill Kerman, and the transfer window to Eve is coming up quickly.
The scientists were thrilled with the data we brought back from Minmus, and wanted us to simply repeat that mission on the Mun. The engineers insisted that another mission with a bunch of small stages wouldn't get us any closer to the developments we need for the Eve lander. And from the viewpoint of those of us in the astronaut corps, we want flight time to practice with the larger vehicles, and we don't want to risk spending weeks out at the Mun and have the Eve transfer window arrive with us busy doing something else.
The compromise we came up with is to build a much larger lander, one capable of landing on the Mun multiple times, thus getting more scientific data for our researchers, giving our engineers a chance to work out kinks in their big rocket designs, and giving the pilots practice at landing a very large lander.

The launch platform consists of thirteen rockets, with the outer six providing booster thrust then being dropped when they run empty shortly after launch, and the inner seven intended to carry the rocket high into the atmosphere before being dropped.
Above the launch platform is another ring of thirteen rockets, with a large core rocket surrounded by twelve smaller ones. This portion of the vehicle operates as four stages, with the outboard port and starboard four dropping first, then the ventral and anterior four, then the inboard port and starboard four, and finally the core being discarded when it runs dry. The plan calls for the twelve external rockets to be used getting the craft into orbit, and the core will serve for the transfer burn to the Mun.
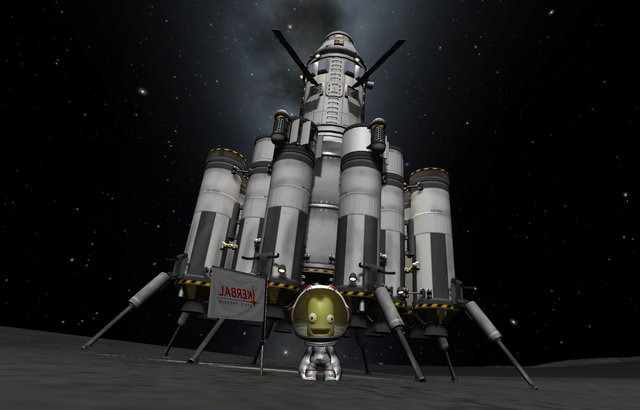
Above those rockets is the lander itself. It matches the stages below, with a ring of twelve rockets around a central core, and the staging is the same. The whole thirteen rockets will serve to bring the lander into orbit around the Mun and the first landing, and as the external tanks run dry on subsequent landings they will be discarded, until eventually only the core is left to bring the lab and capsule back to Kerbin.

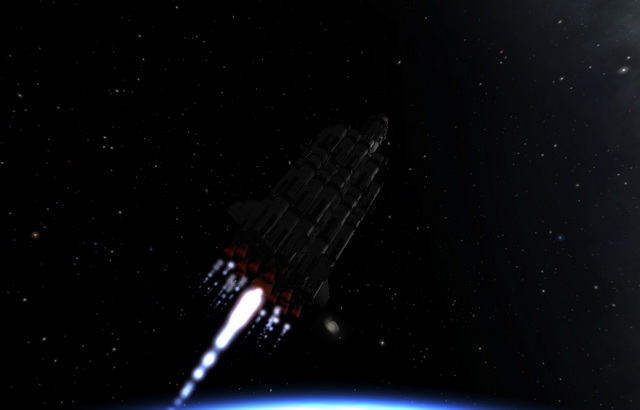
The Kerbis and Klark lifted off with a crew of five: Jebediah, Bob, Philmon, Calfrod, and Desberry Kerman, each of us reprising our role from the Minmus expedition. Jeb, Bob and I share piloting duties, and Calfrod and Desberry operate the scientific instruments and laboratory.
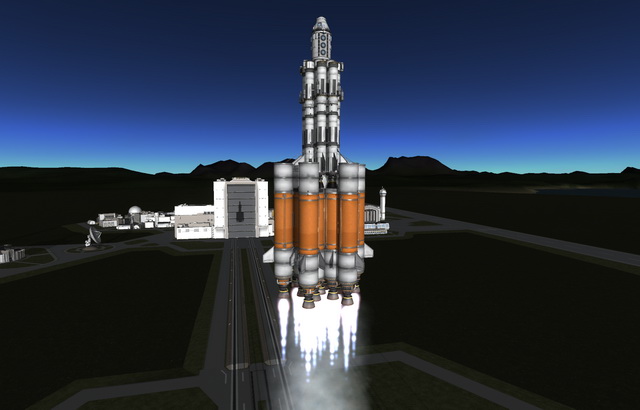
The vehicle may be massive, but the engineers, having seen the behavior of several very large vehicles on launch and through boost phase, made a point of giving this rocket a wide profile, with lots of cross-bracing to minimize any vibration. They paid particular attention to the design of the vertical couplers, as several of the previous rockets showed quite a bit of flex where the upper stages coupled into the launchers below them. The design of the upper stages worked quite well, the rocket showed almost no flex on the way up, nor did it have any tendency for the nose to wander as we turned.

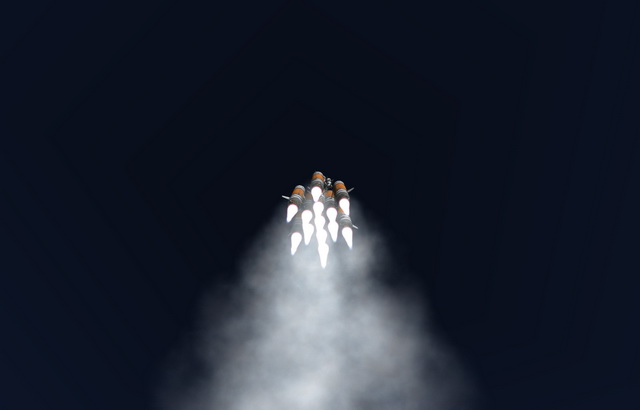
With twelve "Mainsail" engines at full throttle, the sound of our launch was apparently the loudest thing ever reported. Amazingly, even with all that power under us, we lifted off quite slowly, taking several seconds to clear the launch tower. We did continue to accelerate nicely though, reaching our atmospheric top speed of 200 meters per second just as the outer ring of rockets ran out of fuel.

The seven core rockets continued to accelerate us, and as I previously mentioned, the vehicle handled nicely as we turned east to begin building up to orbital velocity.

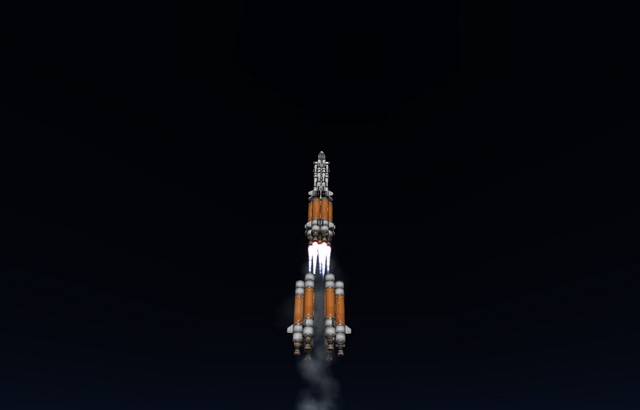
The launch stage burned out almost one minute later, at around 30 kilometers above ground level. We continued our climb on the thirteen rockets of the middle stage, and achieved a circular 100 kilometer orbit with a small amount of fuel left in the final four booster rockets.

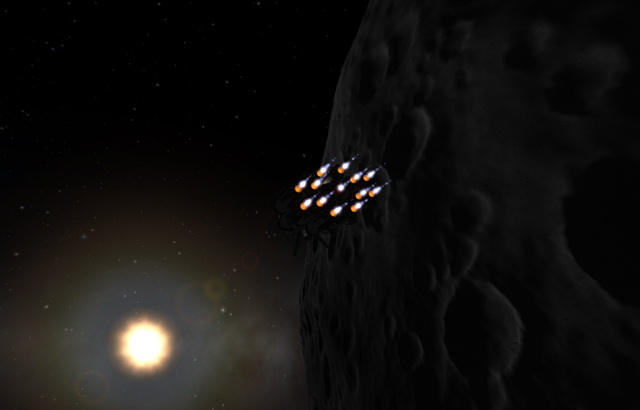
We'd chosen for a daylight launch, and as shown in the photograph above, that placed the Mun behind us as we reached orbit. That gave us time to rest a bit and inspect our vehicle before we came around for our transfer burn.

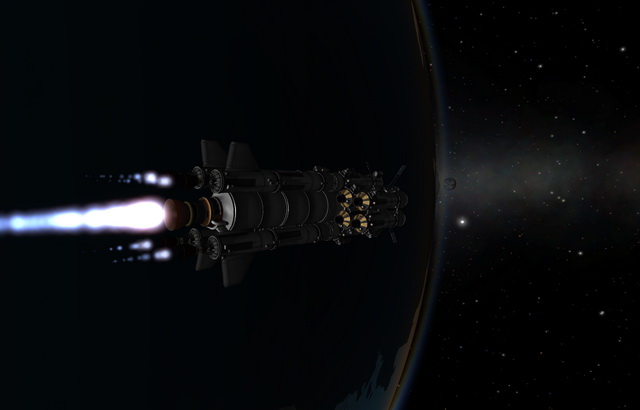
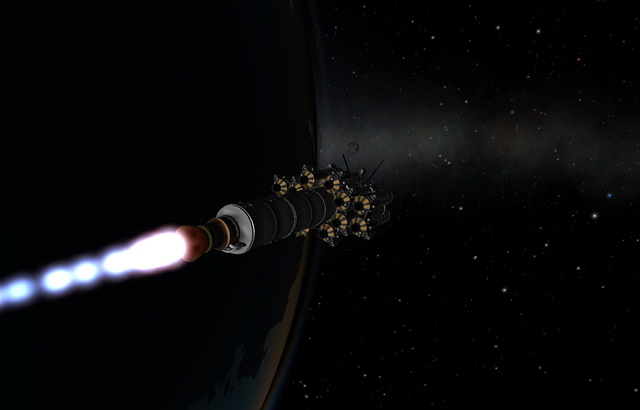
As the Mun finally came over the horizon in front of us we started our transfer burn with the five engines remaining from the launch stage, and when the boosters ran dry we continued with the core stage.

After we achieved a Munar transfer orbit, we had just a few hundred liters of fuel left in the transfer stage. This served for a mid-course correction that set us up for an equatorial approach with a close approach to the Mun of 25 kilometers.

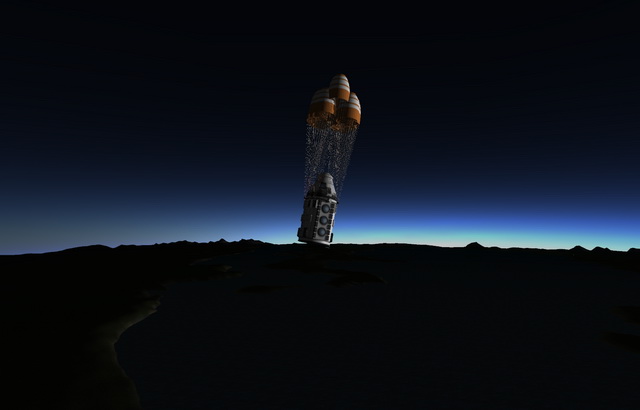
Unsurprisingly, the transfer stage didn't have enough fuel to decelerate us into a stable 25 kilometer parking orbit, so we had to burn some lander fuel for that. As always, the craft becomes more responsive with each stage we drop, and dropping into our parking orbit was quick and barely touched our fuel reserves.
Our parking orbit soon brought us over the East Farside Crater, so we braked and brought the lander down for it's first landing on the Mun. While Calfrod and Desberry went to work conducting the scientific experiments, I went outside to plant a flag.

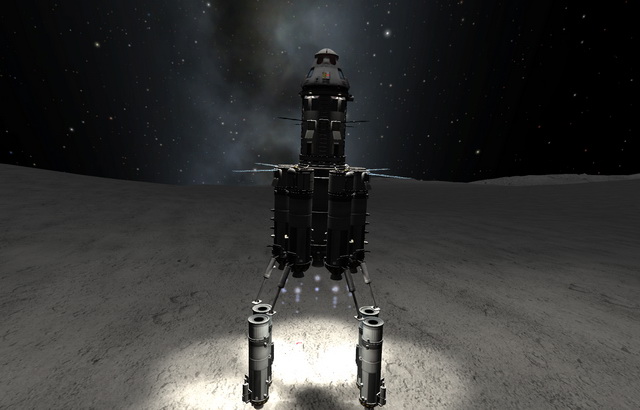
Once Calfrod and Desberry had completed their experiments, we lifted off for our next landing site. We'd run the first set of tanks dry on our landing approach, so we decoupled them before liftoff and left them behind.

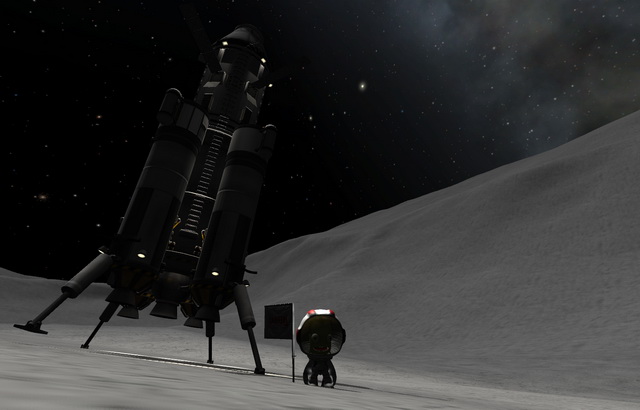
Our next landing site was to be in a canyon leading off from the crater we'd initially landed in. This landing proved tricky, and we had to abort at the last moment as the lander began to topple on a steep slope. Jebediah took control, stabilized the lander, and brought us down a short distance from the initial site where the terrain was a bit flatter.
Bob got to do the honors of planting the flag this time. He was apparently a bit shaken from the aborted landing, and forgot to get a photograph.
Our third landing was in the polar crater. We again had to abort our initial approach due to steep terrain. With the two aborted landings, we used up quite a bit of fuel, and our lander is now down to just the core stage.

We probably had enough fuel for one more landing, but that would have left us uncomfortably low on fuel to get home. Additionally, we'd bent two of our landing legs on the aborted landing, so we were unsure that they'd take the strain of another landing. With the launch window to Eve looming ever closer, we didn't want to strand ourselves on the Mun, and decided to head back with the research we had collected.

Posted by: TheSquirrelPatrol at
10:59 PM
| No Comments
| Add Comment
Post contains 1355 words, total size 11 kb.
18kb generated in CPU 0.0066, elapsed 0.0259 seconds.
33 queries taking 0.02 seconds, 54 records returned.
Powered by Minx 1.1.6c-pink.
33 queries taking 0.02 seconds, 54 records returned.
Powered by Minx 1.1.6c-pink.


