January 04, 2014
To the Mun (Tutorial) Part Two: Travel to the Mun
Good day, ladies and gentlekerbs, and welcome back to this overview of the Ikerbus-Kerbysseus Mun exploration program. My name is Bob Kerman, and in this session I'll show you how we fly our rocket to the Mun.
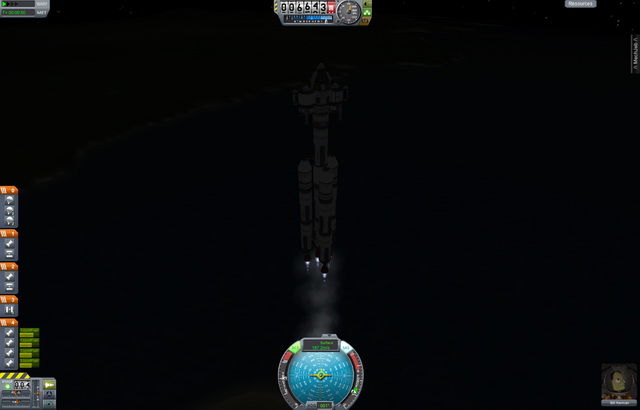
Our next image here shows my recent flight just moments after the launch boosters ran out of fuel and were discarded. As you can see from the control repeaters on the display, I've been piloting the rocket straight up, and am passing through 6,600 meters altitude at a velocity of just under 200 meters per second. The rocket is capable of going much faster, as shown by my throttles being at a mere 50%, but it's not efficient to fight the drag of the atmosphere down this low where the air is still thick and heavy.
Comments are disabled.
Post is locked.
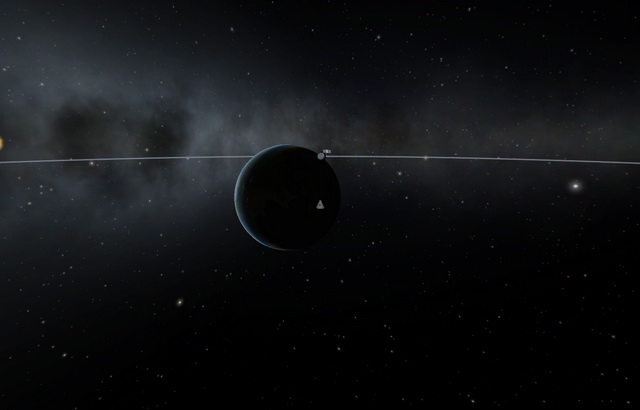
This image from the main display in the command center shows our preferred launch window. We see Kerbin in the foreground, with our rocket on the launch pad at the Kerbal Space Center shown by a little capsule icon. In the backgroun we can see that the Mun is about 10 degrees below the horizon, or an hour or so before Mun rise on this particular night. By launching with Kerbin and the Mun in this configuration, we will give ourselves an efficient course straight to the Mun after launch.


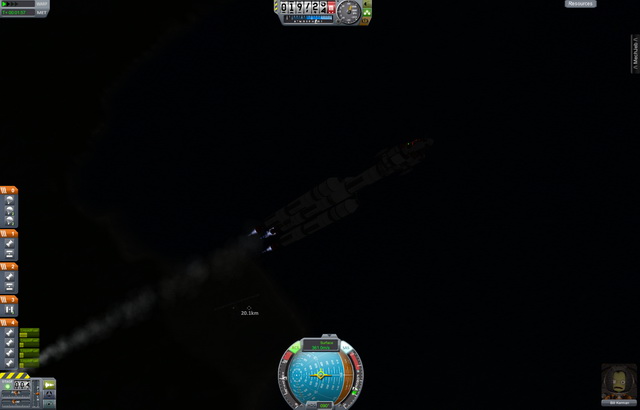
This next image was taken at the top of my "gravity turn." This maneuver began at 10,000 meters, and in this instance was completed around 20,000 meters in altitude. At the end of the turn, the rocket is no longer ascending straight up, but is pointed east at a 45 degree rate of climb. This maneuver lets us efficiently begin building the horizontal velocity that turns "what goes up most go down" into an orbit. The control repeaters show that we've begun to build up velocity, and that our boost launch stage is down to about 10 percent fuel capacity.

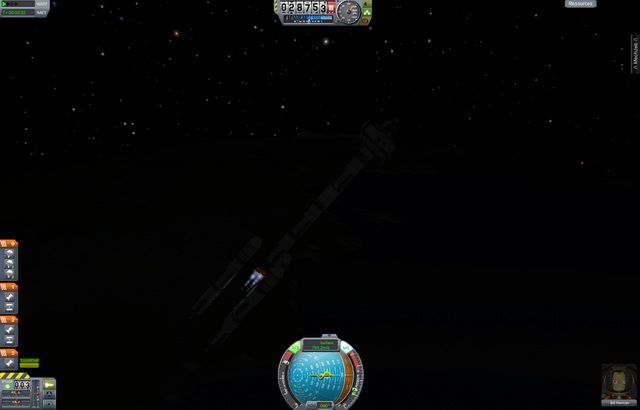
This next image shows the launch boosters being discarded at just around 29 kilometers altitude. Note how the core booster now reports more fuel than it had in the previous image, that's the result of the external boosters dumping in their last bit of fuel as they flamed out.

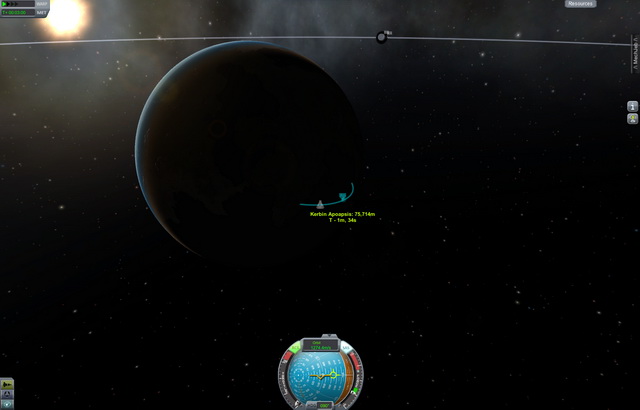
For our next image, we're back to the main display in the control center. Here we see the projected trajectory of our rocket during the ascent. The rocket is at about 35 kilometers altitude, and we're coasting upward to the high point of our course, known as the apoapsis. This is shown as being at 75 kilometers altitude, just above the limits of Kerbin's atmosphere. We;re coasting because we don't need to go any higher, and our engines will be more efficient in the vacuum of space so we may as well wait before we point ourselves due east and build up velocity in earnest.

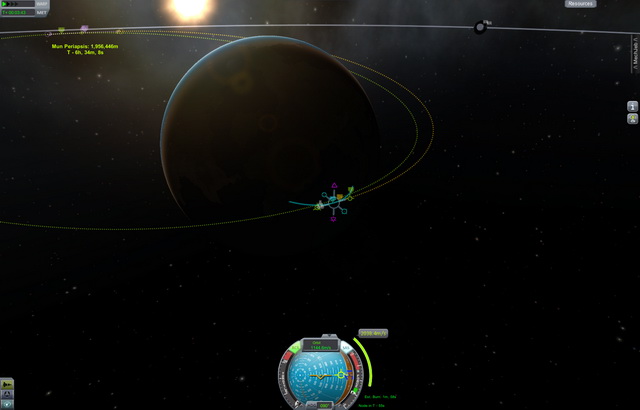
For this next image, the main display is echoing the work of my navigation system in the capsule. I've planned a maneuver at the apoapsis, programming in a burn of just over one minute due east, for a total change in velocity of nearly 2,900 meters per second. The display shows the Mun's current location in the upper right, but over in the upper left we have a prediction of where it will be as my planned course arrives in the area, with a purple icon indicating my projected closest approach to the Mun, at approximately 1 million kilometers. I want to do much better than that, but I've got to get the maneuver planned quickly, as I'll arrive at the burn initiation point in mere seconds, so this is good enough for now.

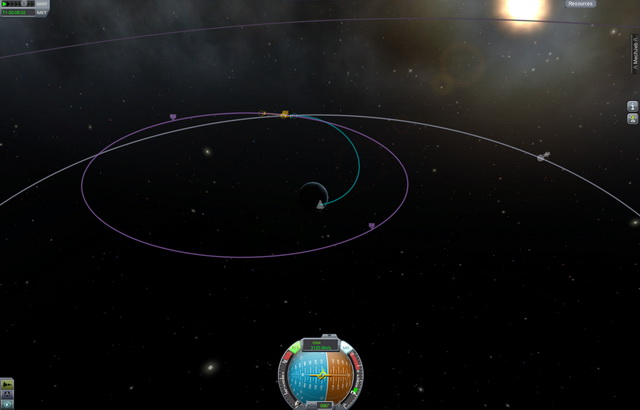
This next image shows the transfer orbit I actually achieved. As I was executing the burn, I made some minor adjustments to the program by hand, and the result is that my closest approach to the Mun on this transfer orbit was at 163,000 meters. The light blue line in this image shows the transfer orbit, the gold segment is my path while under the Mun's influence, and the purple path is the orbit I'd be on after the Mun encounter if I didn't do anything else.

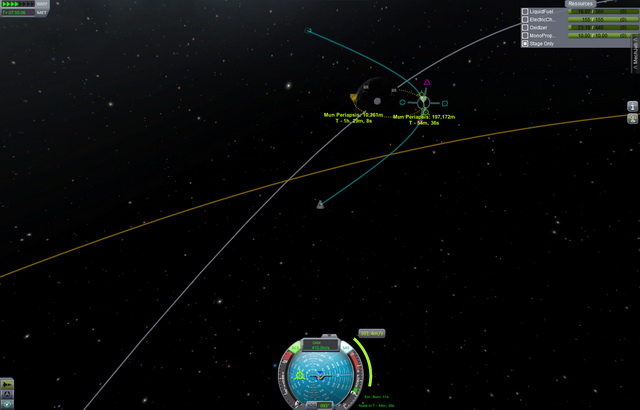
In this next image, taken about 7 hours into the flight, my transfer orbit has brought me into the Mun's influence, and I'm planning the burn that will place me into a Munar orbit. The grey line is the Mun's orbit, the gold line is my eventual orbit if I don't make any changes, and the blue line is my current course through the Mun's sphere of influence. The brown dotted line is the orbit I'm planning, which will be somewhat eccentric, having an apoapsis of 137 kilometers and a periapsis of 15 kilometers. We'll refine that later, but for now I need to slow down and no go shooting past the Mun and back into a Kerbin orbit. Note the resources information at the top right of this image, which shows that I've nearly exhausted the fuel in the transfer stage.

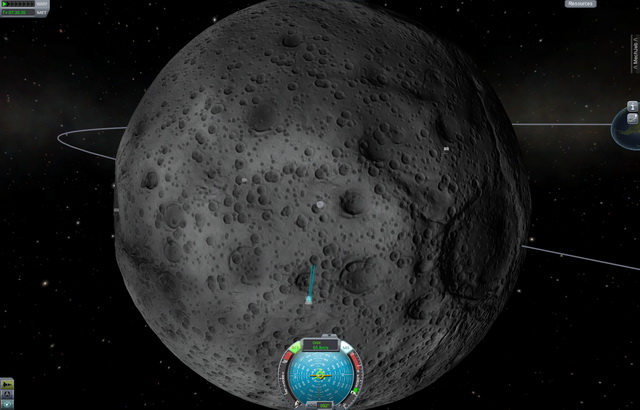
That burn to establish a rough Munar orbit exhausted the last fuel in the transfer stage and used several seconds of the lander's fuel capacity, so I decided not to establish a better Munar orbit, and began braking immediately. In the image below, you can see my lander hanging nearly stationary a dozen kilometers over the far side of the Mun, falling towards the midlands crater that is my chosen landing site.

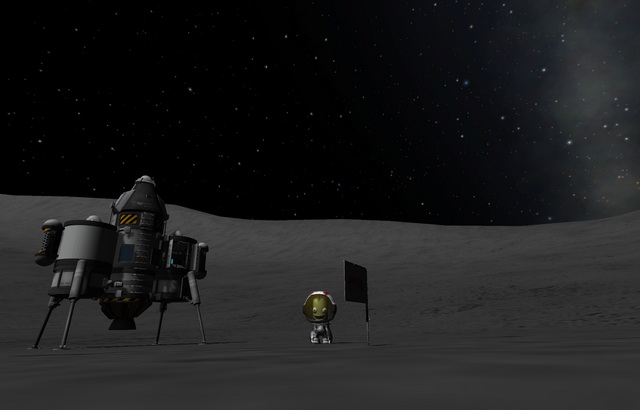
And here is my last image for the presentation, of me standing on the Mun next to the lander.

Posted by: TheSquirrelPatrol at
05:00 AM
| No Comments
| Add Comment
Post contains 941 words, total size 7 kb.
14kb generated in CPU 0.0083, elapsed 0.0596 seconds.
34 queries taking 0.0539 seconds, 54 records returned.
Powered by Minx 1.1.6c-pink.
34 queries taking 0.0539 seconds, 54 records returned.
Powered by Minx 1.1.6c-pink.


